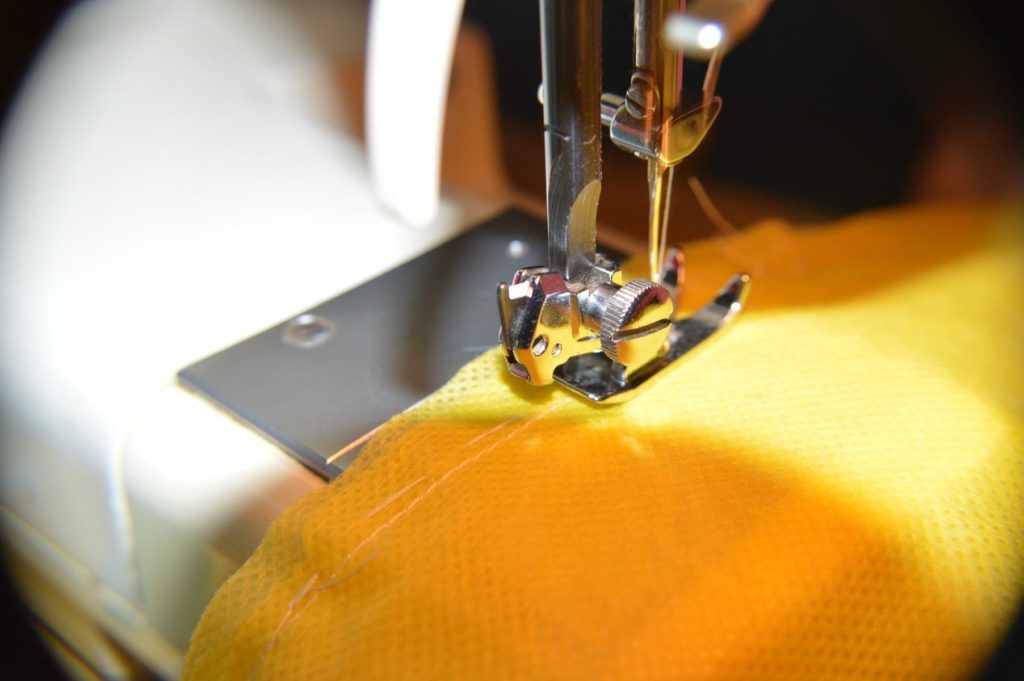
Whether you’re constructing a garment with a 5/8” seam allowances or a quilt with quarter-inch seams, sewing accurate seam allowances is one of the most important aspects of any sewing project. Without an accurate seam allowance, your next project could be too small, too large or a complete disaster. How accurately your machine sews seam allowances can make or break any sewing project. With this in mind, what can you do to check and maintain your sewing machine’s accuracy?


How to Check Your Sewing Machine’s Accuracy
Although most sewing machines have seam measurement distances stamped into the throat guide plate, and you can purchase specially designed feet that sew quarter-inch seams, these can’t adequately serve their purpose if your machine isn’t sewing accurately. Quarter-inch seams are especially important for quilters. Fortunately, it’s very easy to check if your machine is sewing the correct seam allowance using a lined index card because the lines on an index card are spaced out exactly at ¼” increments.
With the needle and the presser foot in the raised position, slide the index card under your needle with the lines on the index card going the same direction as your seams would be sewn. Using the handwheel, slowly lower the needle until it is almost touching the index card. Align one of the lines on the card with the needle. Then lower the needle into the line on the card and drop your presser foot.
Does the edge of your quarter-inch foot line up with the next line that is ¼” over on the index card? If so, you’re set to sew quarter-inch seams accurately. If not, you’ll need to make adjustments to the needle position until you obtain the correct distance, then check your seam again using the index card.
You can also use an index card to check other seam allowances. Align the edge of the index card along with the seam allowance markings on the guide plate. Lower your presser foot and then turn the handwheel to lower the needle into the index card. Remove the card from the machine and measure the distance between the hole the needle made and the edge of the card. Is the distance correct? Does the measurement equal the distance the guide plate indicates? If not, adjust the needle position until you obtain the correct distance. Repeat these steps until you receive the correct measurement.
What if you have a sewing machine that doesn’t have lines stamped into the throat plate or you don’t have a quarter-inch foot? How can you easily get the correct seam allowances? It’s easy! On the index card, draw a thin line parallel to the edge of the card equal to the distance of your desired seam allowance. Slide the card under the needle and drop the needle into your drawn line just as we did earlier. Align the index card parallel to the edge of the presser foot so that the card edge is exactly where your fabric edge would be if you were sewing. Place a piece of painter’s tape or washi tape (any low residue tape will work) onto the throat plate along the edge of the index card. Feeding the fabric to follow the edge of the tape, you can now use the tape as a guide for your seam allowance.
Tips to Maintain Your Sewing Machine’s Accuracy
What can you do to make sure your sewing machine continues to run smoothly and sew accurately?
- Don’t sew over pins. Pins can cause very serious damage to a sewing machine when the needle strikes them.
- When not in use, keep your sewing machine covered to protect it from dust, dirt, lint and pet hair. This is especially important for electronic sewing machines. If your machine didn’t come with a cover, a pillowcase can be used in a pinch.
- Keep and store your sewing machine in a dry environment.
- Plug your machine into a surge protector. Unplug your machine when not in use.
- Remove thread from the machine by clipping it near the spool and pulling out through the needle end.
- Make sure the fabrics you choose are suitable for the type of machine you have. For instance, a sewing machine geared for beginners will be better suited for closely woven fabric types such as upholstery fabrics, and less for light and sheer fabrics.
- Clean your machine regularly per your machine’s instruction manual after each project or every 4 hours into major projects. Thread bits and lint can build up around the throat plate, bobbin area, and feed dogs. After raising the presser foot to loosen tension springs, run a folded dollar bill between the tension discs to floss out any lint or lose threads. On newer machines, the tension discs are located inside the machine on either side of the take-up lever. To clean them, run the dollar bill on either side of the take-up lever.
- After cleaning, oil your machine as instructed in your owner’s manual. Many modern machines don’t require additional oiling.
- Never use canned air to clean out the machine. Canned air can force dust, lint, and debris deep into the mechanism of your machine. Use the lint brush provided with your machine or one similar to it to get into all the areas of the throat plate, bobbin and feed dogs until the brush no longer pulls lint from the machine. A small vacuum cleaner attachment works very well also, reaching its small nozzle into areas to clean out as much lint and debris as possible.
- Take your machine in for service annually. Annual tune-ups ensure your sewing machine is clean, working properly, well lubricated and has the latest firmware updates. Regular service often picks up developing problems before they become expensive repairs. Sewing machines that do a lot of embroidery work (ten hours or more per week) undergo a considerable amount of stress and should be serviced more frequently — every six months.
Needles
- Always choose superior quality needles.
- Use the appropriate needle type and size to match the weight and weave of your fabric.
- Change needles between projects and after every eight hours within a given project.
- Always change dull, bent and damaged needles which can cause skipped and inconsistent stitches and/or damage to your machine.
Bobbins
- Use the correct bobbin recommended by your machine’s manufacturer.
- Don’t use rusty or damaged bobbins.
- Don’t wind new bobbin threads over any existing thread. Remove existing thread before adding a new thread.
Thread
Thread matters. Use a high-quality sewing thread to protect your machine and to get high-quality results.
- Poor quality thread often results in poor stitch quality and tension problems.
- Poor quality thread often generates a lot of lint and dust residue, causing problems with tension, thread guides and bobbin cases, as well as causing inconsistent stitches and thread travel. The excess lint can also soak up lubrication in your machine which can cause your machine to run dry.
- Old thread (older than five years), especially natural fiber threads, can be dry and brittle. The thread can break leaving thread bits in your machine’s mechanism.
By following these easy tips, your machine should maintain its sewing accuracy, making sure you and your machine have “sew” many happy days ahead.
Author’s BIO: Lori Wade is a journalist from Louisville. She is a content writer for those who have experience in small editions, Lori is now engaged in news and conceptual articles on the topic of DIY and quilting. If you are interested in crafting or lifestyle, you can find her on Twitter & LinkedIn. She has good experience and knowledge in the field.
